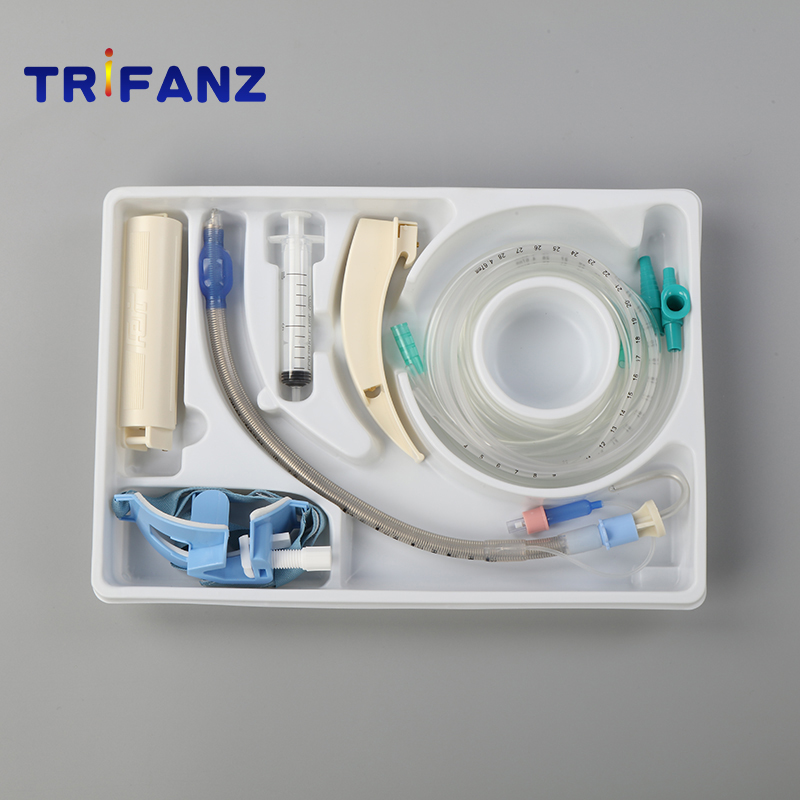
Intubation method
1. The patient lies on his back, with the head back and the neck raised, so that the pharynx and trachea of the patient are basically overlapped on the same axis. This is the standard head position for intubation operations.
2. The surgeon stands on the side of the patient's head, pushes the patient's lower lip and mandible with the thumb of the right hand, puts the index finger against the upper incisor, and uses the two fingers as the mouthpiece to open the mouth.
3. When the mouth is fully opened, hold the laryngoscope in the left hand, so that the illuminated laryngoscope leans toward the larynx at a right angle, with the handle shifted to the right, and inserted along the right edge of the tongue. After the lens is against the throat, turn the right deflection lens handle to the median position, and gently move the laryngoscope to the left to shift the tongue to the left to expand the field of vision under the lens. The first mark), and then along the back of the tongue, insert the laryngoscope into the root of the tongue, and lift the laryngoscope slightly to see the edge of the epiglottis (this is the second mark that exposes the glottis).
4. After seeing the edge of the epiglottis, if you use a curved laryngeal lens, you can continue to go deeper and place the front end of the laryngeal lens at the junction of the epiglottis and the root of the tongue. The assistant presses down the cricoid cartilage or upper trachea from outside the skin to see clearly. The glottis is white, and the dark black trachea can be seen through the glottis. Below the glottis is the mucous membrane of the esophagus, which is bright red and closed.
5. After exposing the glottis, take the tracheal tube in your right hand (the head end of which has been coated with petroleum jelly), and align its front end with the glottis. At the end of the patient's inhalation (when the glottis is opened), gently insert the tube into the tube. After about 1cm of the glottis, quickly remove the tube core, and continue to rotate the tube deep into the trachea, about 4cm for adults and 2cm for children.
6. Put a tooth pad next to the tracheal tube, and then withdraw the laryngoscope. The surgeon puts his ear close to the outer end of the tube and feels whether there is any air coming in or out. If the patient's breathing has stopped, use the mouth to blow air into the catheter or squeeze it with a breathing bag to observe whether the chest has undulating movements. Also use a stethoscope to listen to the breath sounds of both lungs, paying attention to whether they are symmetrical. If the breath sounds are asymmetrical on both sides, it may be caused by the catheter being inserted too deep into one side of the bronchus. At this time, the catheter can be withdrawn slightly until the breath sounds on both sides are symmetrical.
7. After verifying that the catheter has been inserted into the trachea accurately, use a long tape to properly fix the catheter and dental pads.
8. Use a syringe to inject an appropriate amount of air (usually about 5ml) into the cuff at the front end of the tracheal tube, subject to no air leakage. Close the balloon tube with a vascular clamp. Cuff inflation can seal the tracheal tube and tracheal wall to prevent the mechanical respirator from leaking when inhaling into the lungs, and it can also prevent vomit and secretions from flowing back into the trachea.
9. Use the suction tube to test the secretions into the tracheal tube to understand the patency of the airway.
Endotracheal Tube Intubation Kit